Google Tag Manager Installation Guide
This guide outlines two installation options for integrating Videobot events with Google Tag Manager (GTM). Choose the option that best fits your workflow.
Using Piwik PRO?
Piwik PRO Tag Manager uses the same window.dataLayer interface as GTM. The steps in this guide apply equally to Piwik PRO — select Google Tag Manager / Piwik PRO in the Videobot analytics dropdown and follow the same trigger, variable, and tag setup below. For Piwik PRO-specific details, see the Piwik PRO guide.
Option A: Import GTM template as JSON
Step 1. Download the JSON template
Download the template file: videobot-gtm-template-20250304.json
Step 2. Import the template in GTM
WARNING
Do not overwrite the container, but use merge instead
Open your GTM container settings, and import the template you downloaded from Admin -> Import Container.
Step 3. Update Google Analytics tracking ID
Update your GA4 tracking ID into the newly created tag: GA4 - Videobot Events.
Step 4: Preview and Test
- Use GTM's Preview mode to ensure that:
- The dataLayer events are correctly captured
- Tags fire as expected
- Data flows to your GA4 property
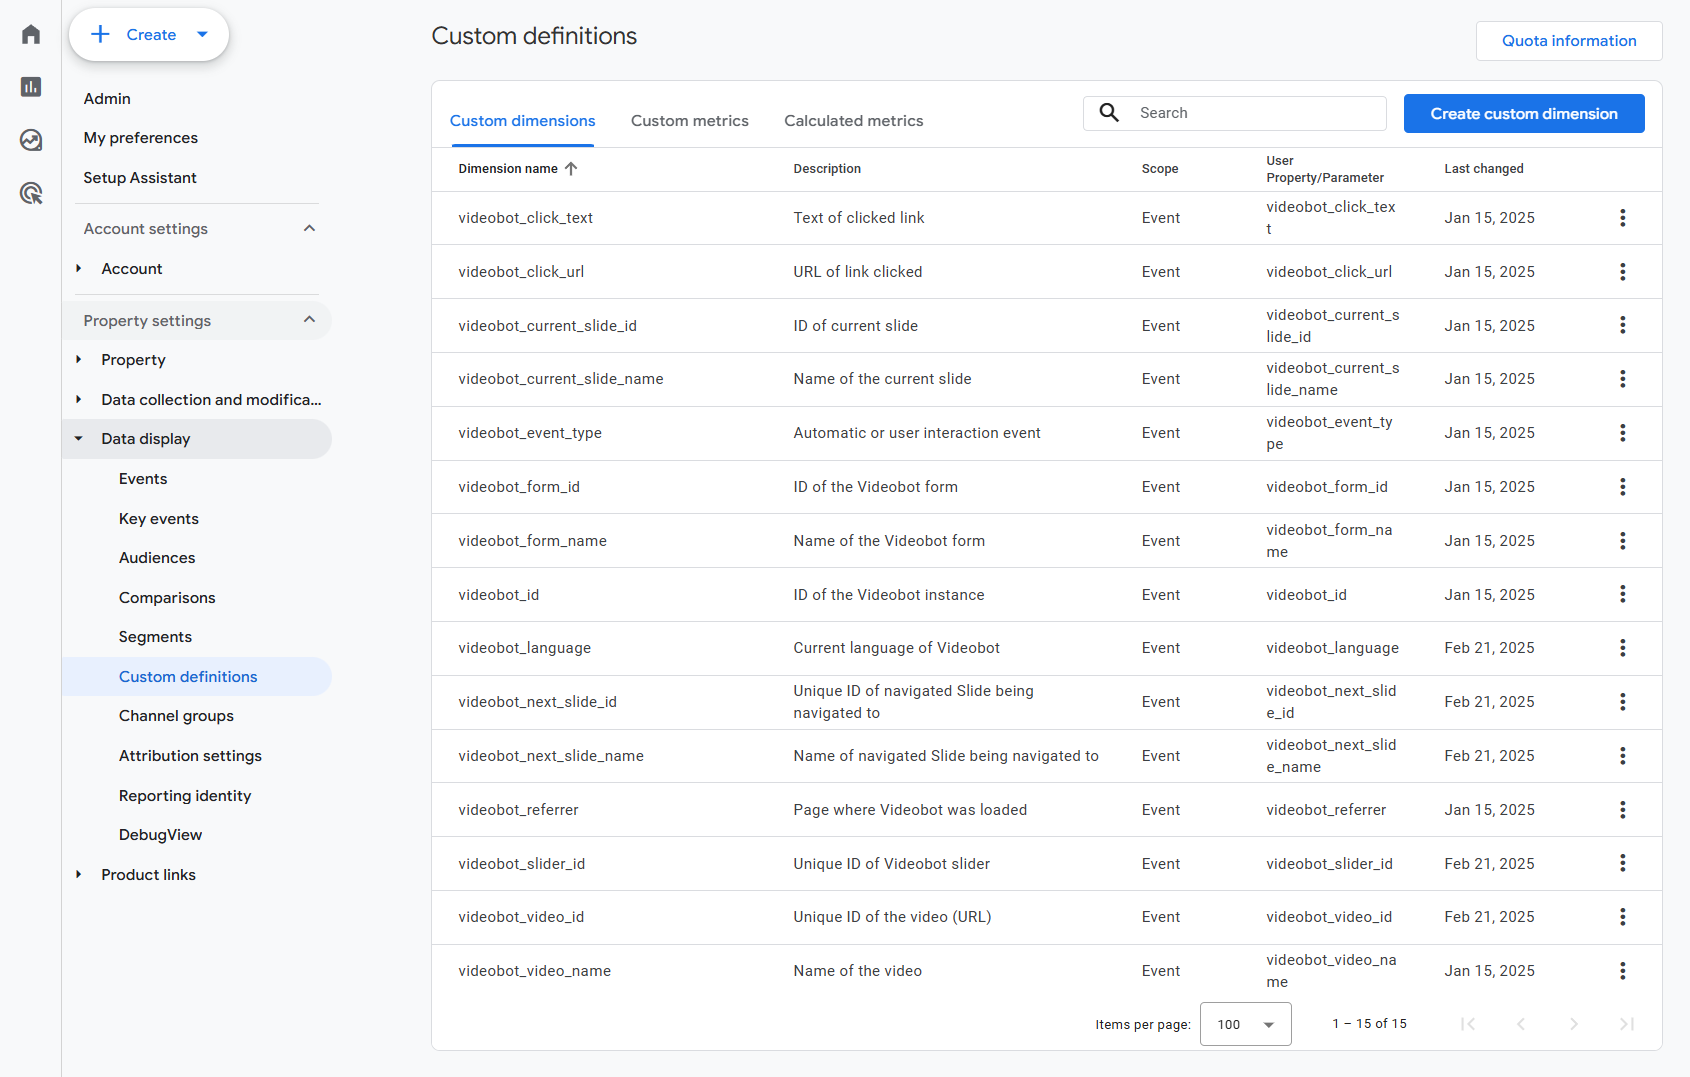
Step 5: Add Custom Dimensions and Metrics in GA4
- Log in to your GA4 property.
- Navigate to:
Custom Definitions - Add the necessary custom dimensions and metrics that correspond to the Videobot dataLayer variables.

Done
Now you should be ready! Save and publish the container, and head to the guide for configuring GA4.
Option B: Install Tags, Triggers, and Variables Manually
These are the steps required for reproducing the content of the above template:
Step 1: Enable dataLayer events from the Videobot Dashboard
- Open the Videobot you wish to track from the
Videobotspage - Navigate to the Videobot's
Settingstab and then theTracking & analyticssection - Set the integration type to:
Google Tag Manager / Piwik PRO - Save and Publish the changes
- Repeat for each Videobot instance in use
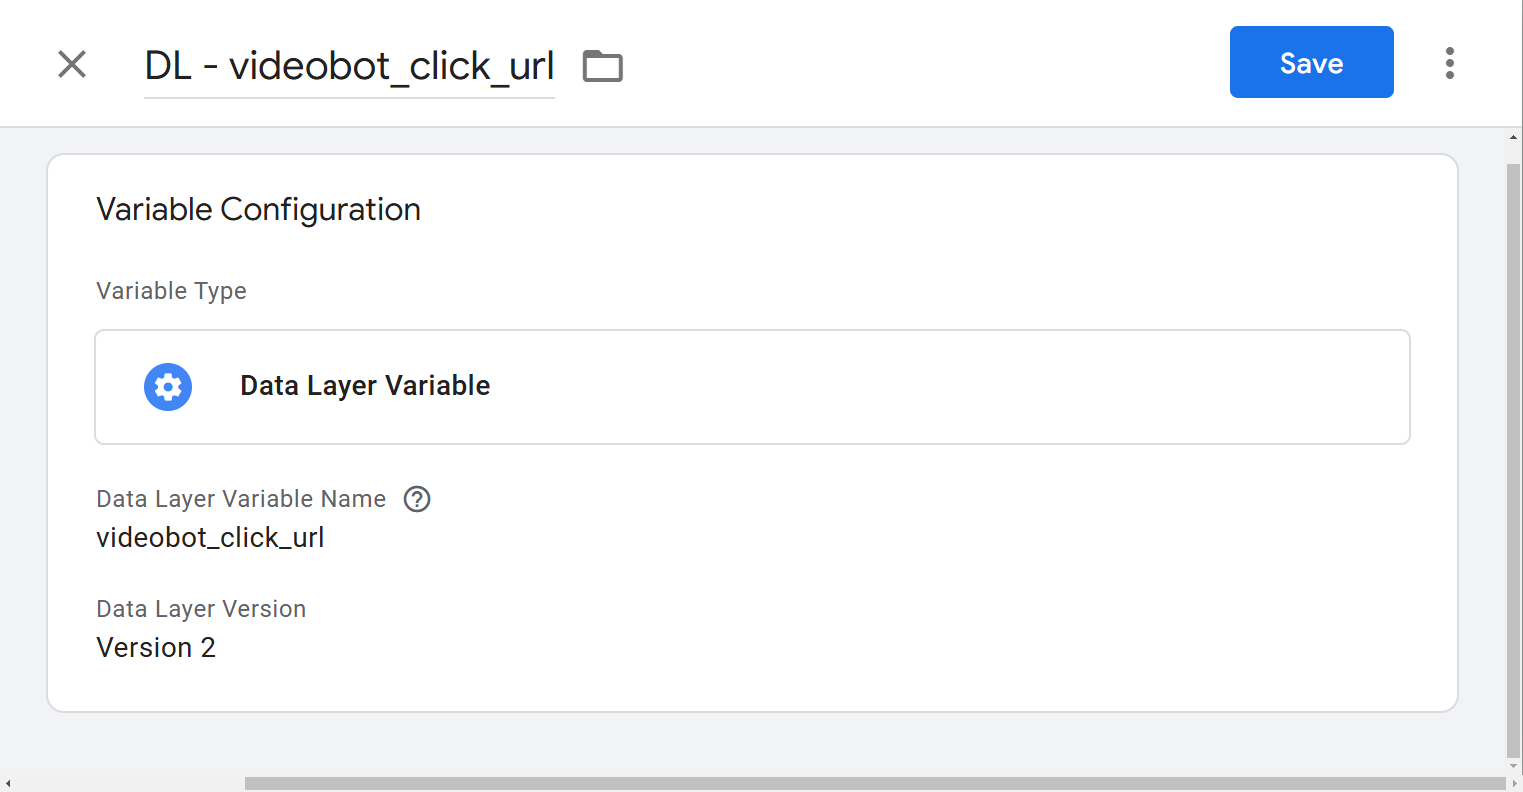
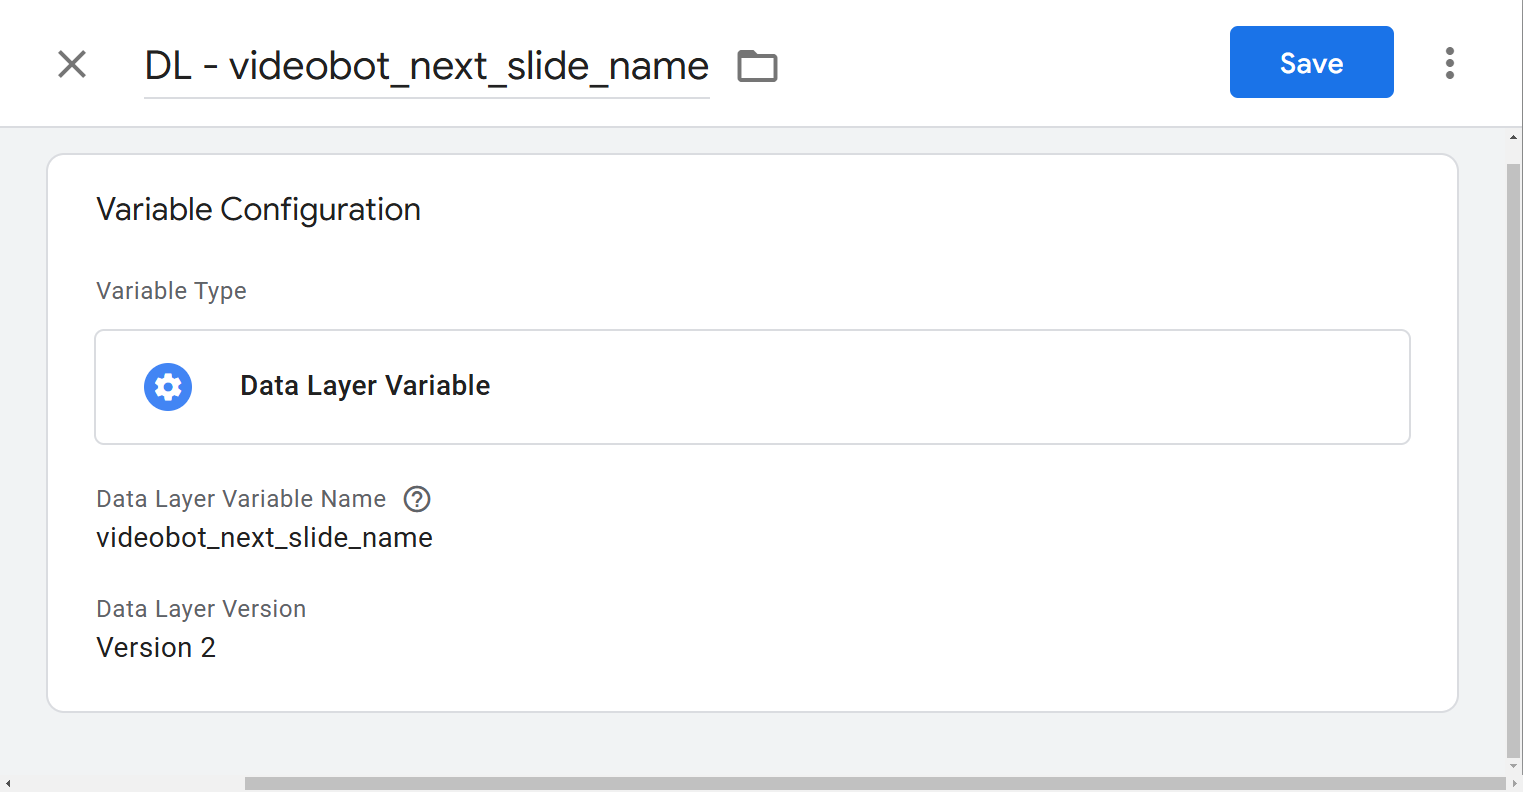
Step 2: Add Videobot dataLayer Variables
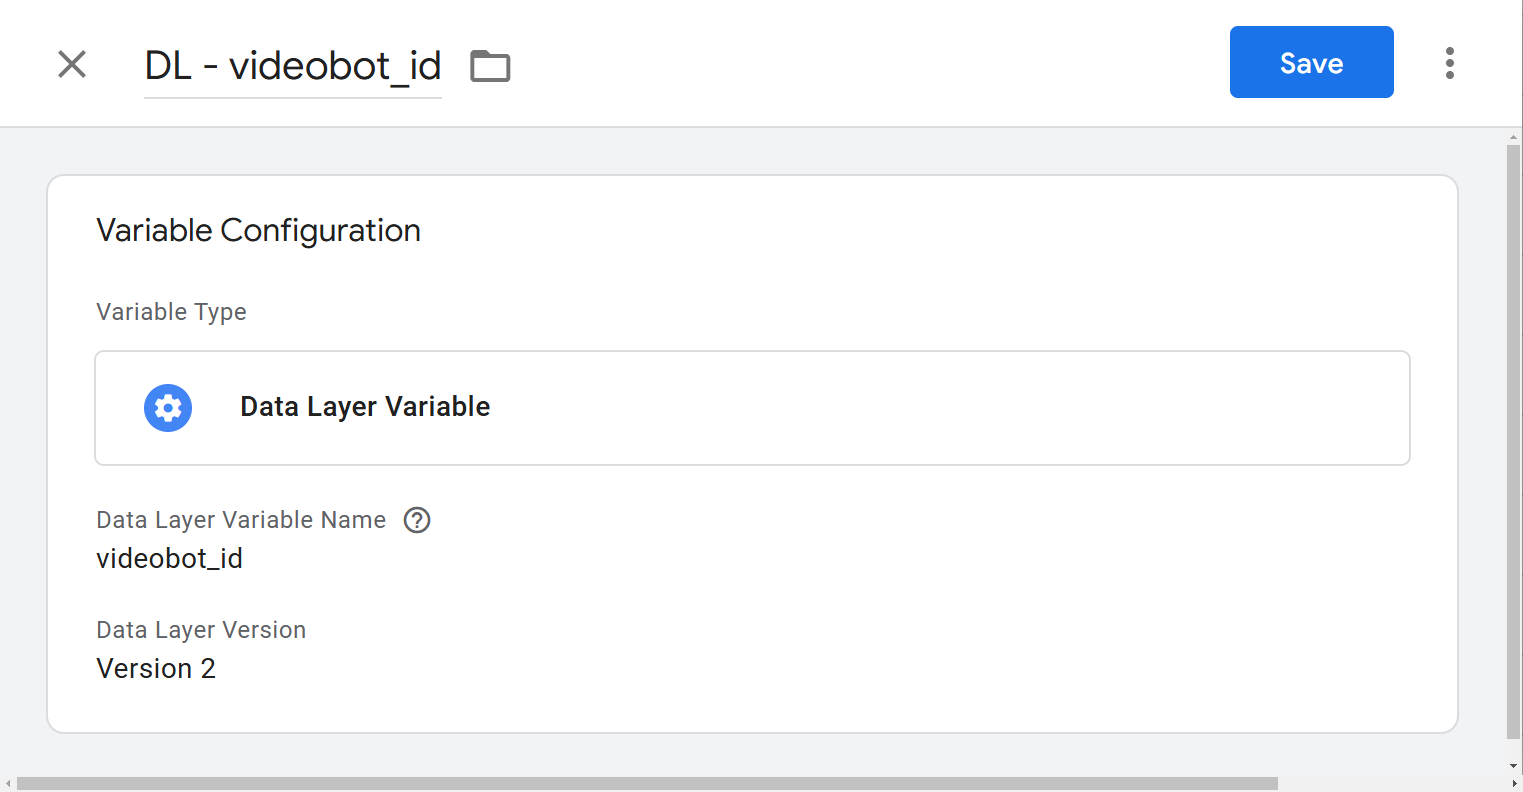
Create the following Data Layer Variables under a folder named Videobot:
DL - videobot_id
Variable name: videobot_id
DL - videobot_language
Variable name: videobot_language

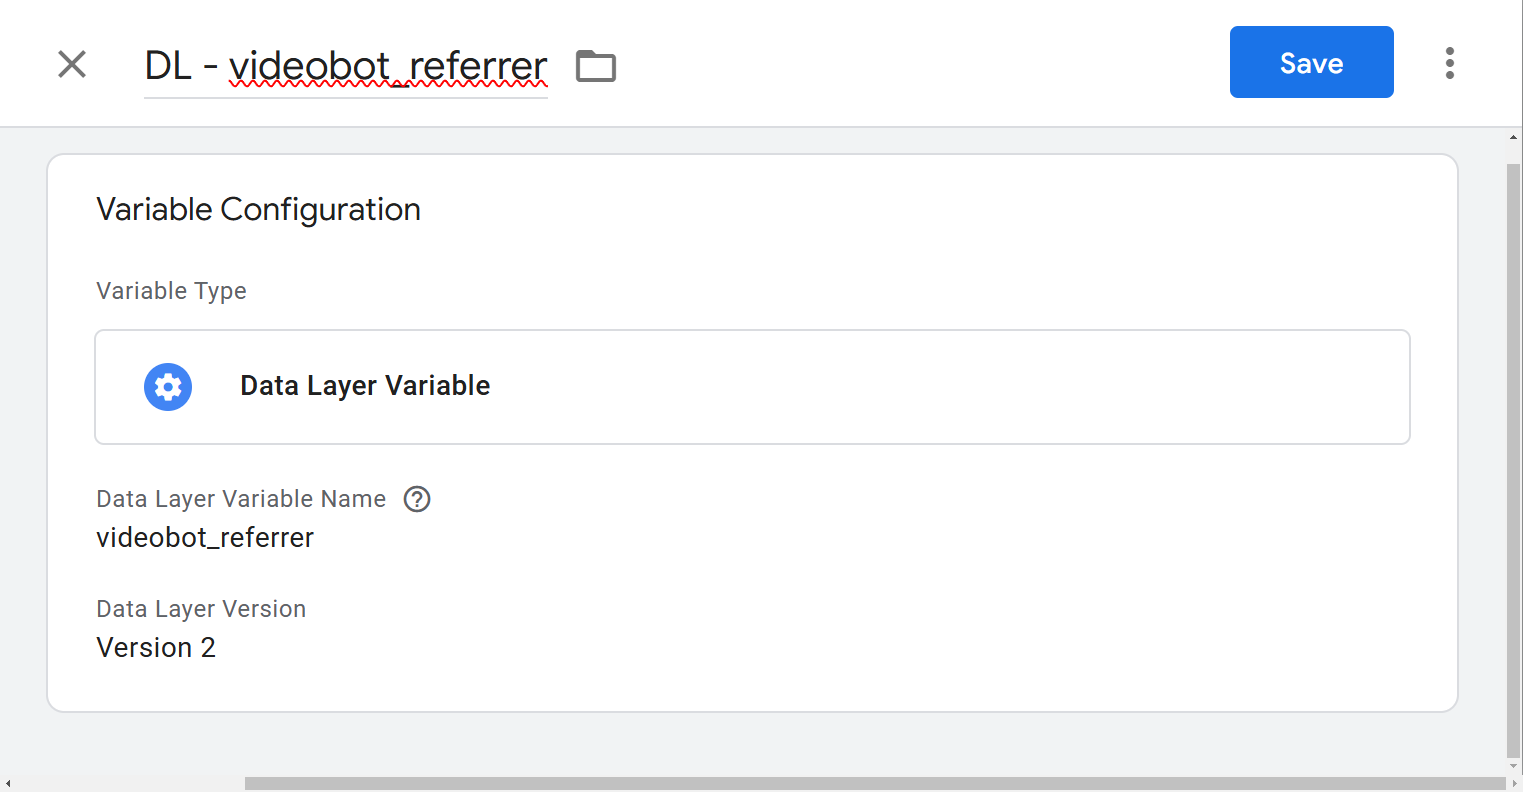
DL - videobot_referrer
Variable name: videobot_referrer
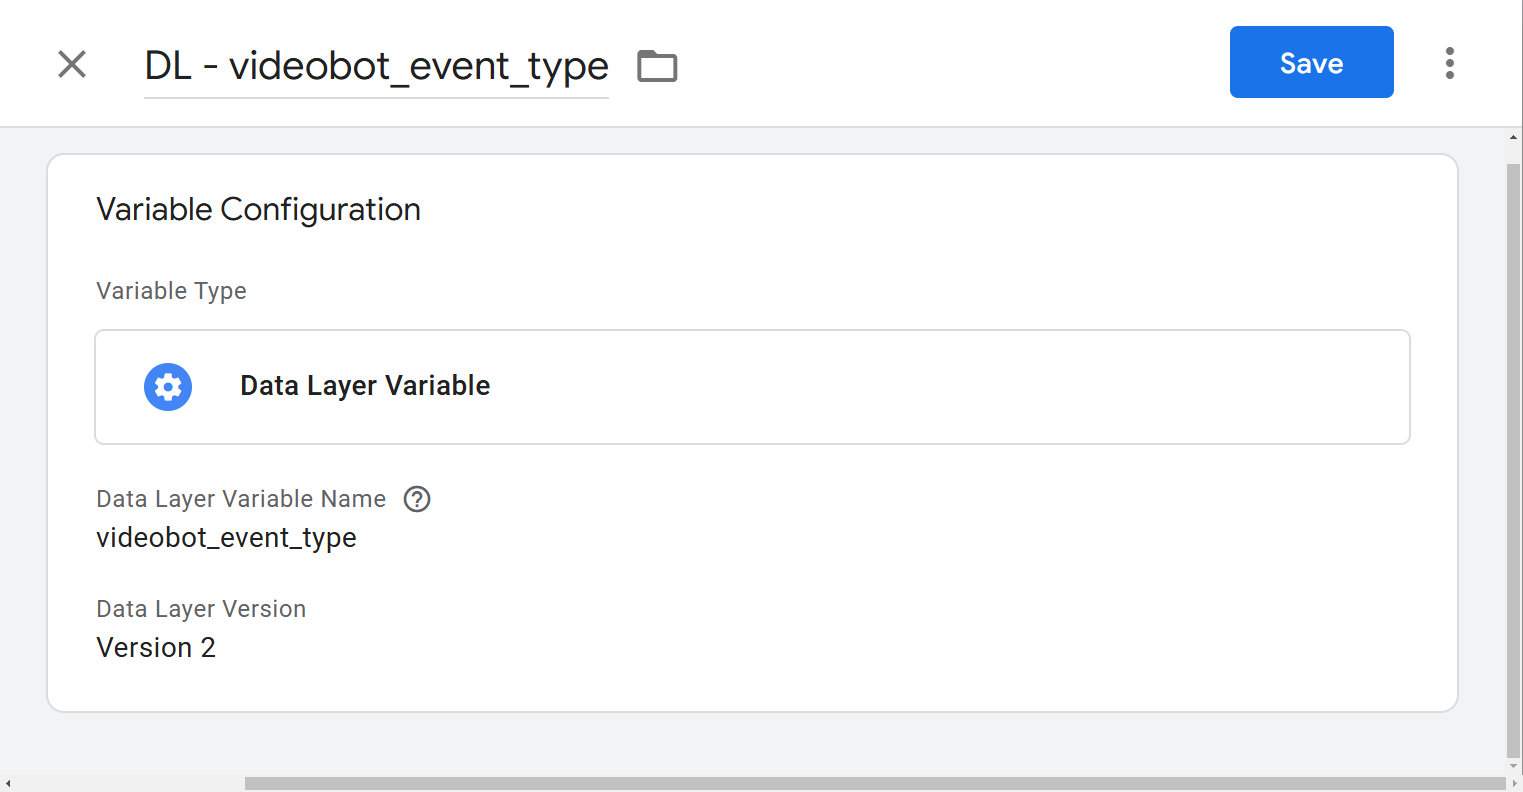
DL - videobot_event_type
Variable name: videobot_event_type
DL - videobot_click_text
Variable name: videobot_click_text

DL - videobot_click_url
Variable name: videobot_click_url
DL - videobot_current_slide_id
Variable name: videobot_current_slide_id

DL - videobot_current_slide_name
Variable name: videobot_current_slide_name

DL - videobot_form_id
Variable name: videobot_form_id

DL - videobot_form_name
Variable name: videobot_form_name

DL - videobot_next_slide_id
Variable name: videobot_next_slide_id

DL - videobot_next_slide_name
Variable name: videobot_next_slide_name
DL - videobot_slider_id
Variable name: videobot_slider_id

DL - videobot_video_id
Variable name: videobot_video_id

DL - videobot_video_name
Variable name: videobot_video_name

DL - videobot_video_time
Variable name: videobot_video_time
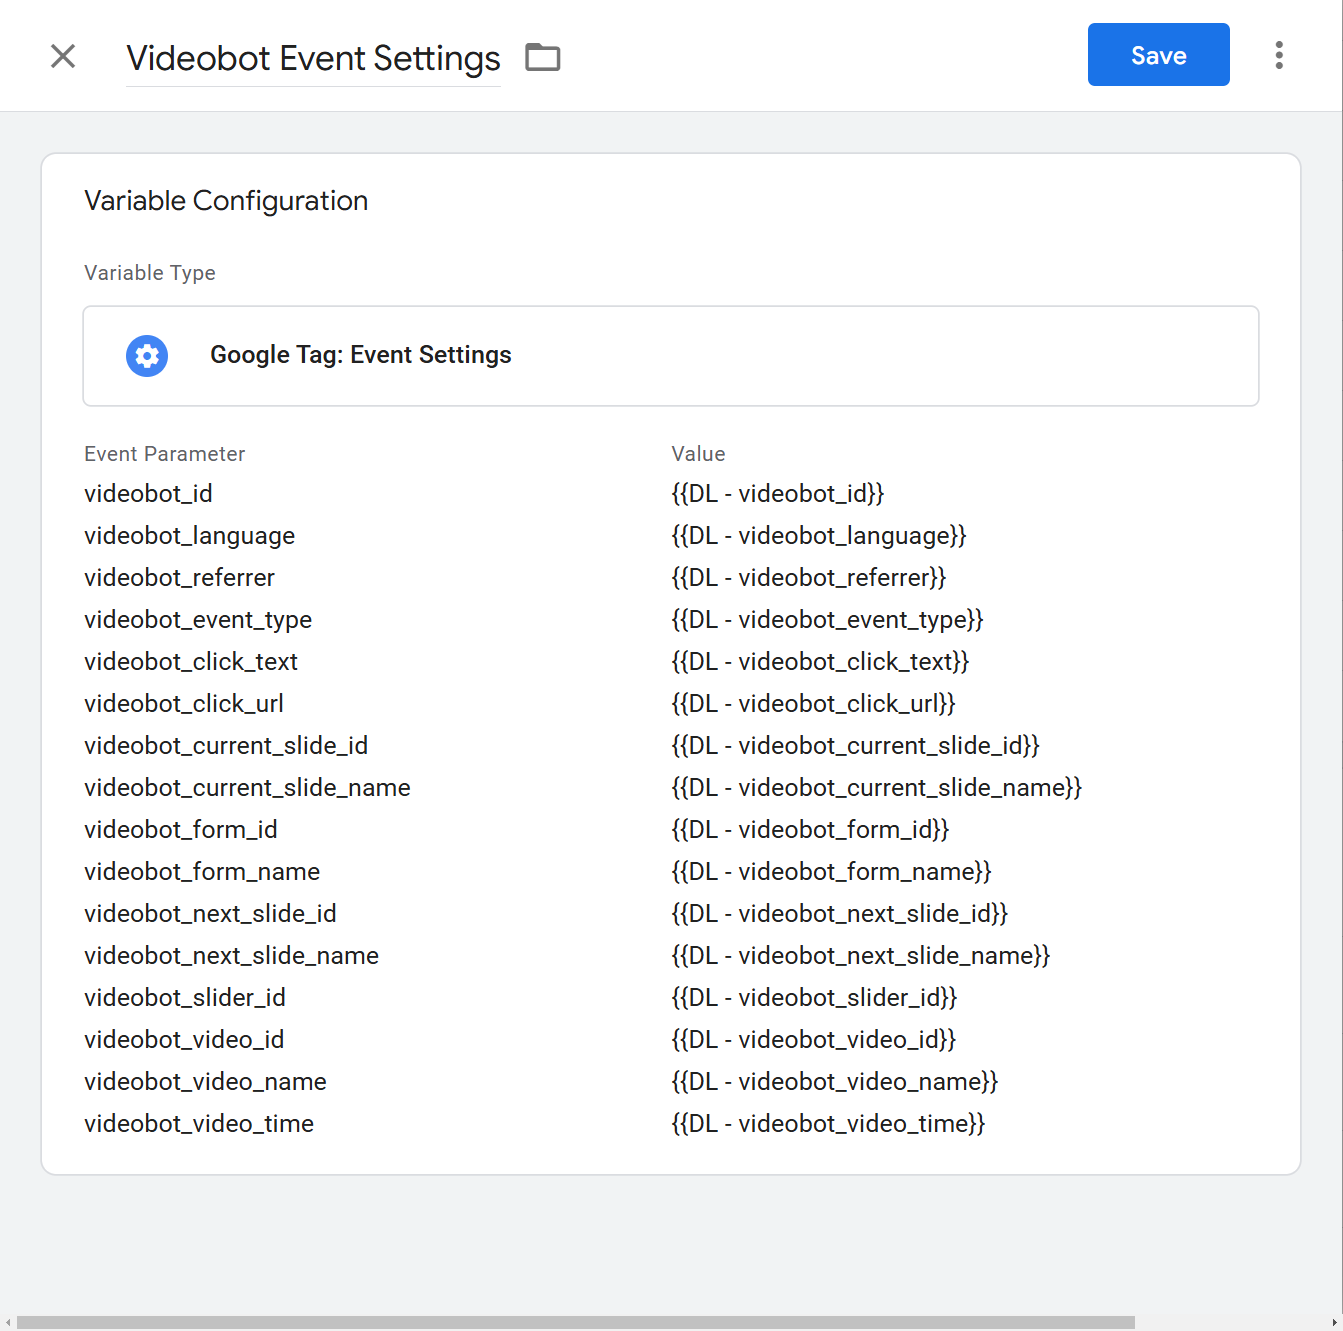
Step 3: Create the Videobot Event Settings Variable
- Create a new variable of type
Google Tag: Event Settings - Name:
Videobot Event Settings - Add the Videobot dataLayer variables you just created, using logic such as:
videobot_video_time = {{DL - videobot_video_time}}
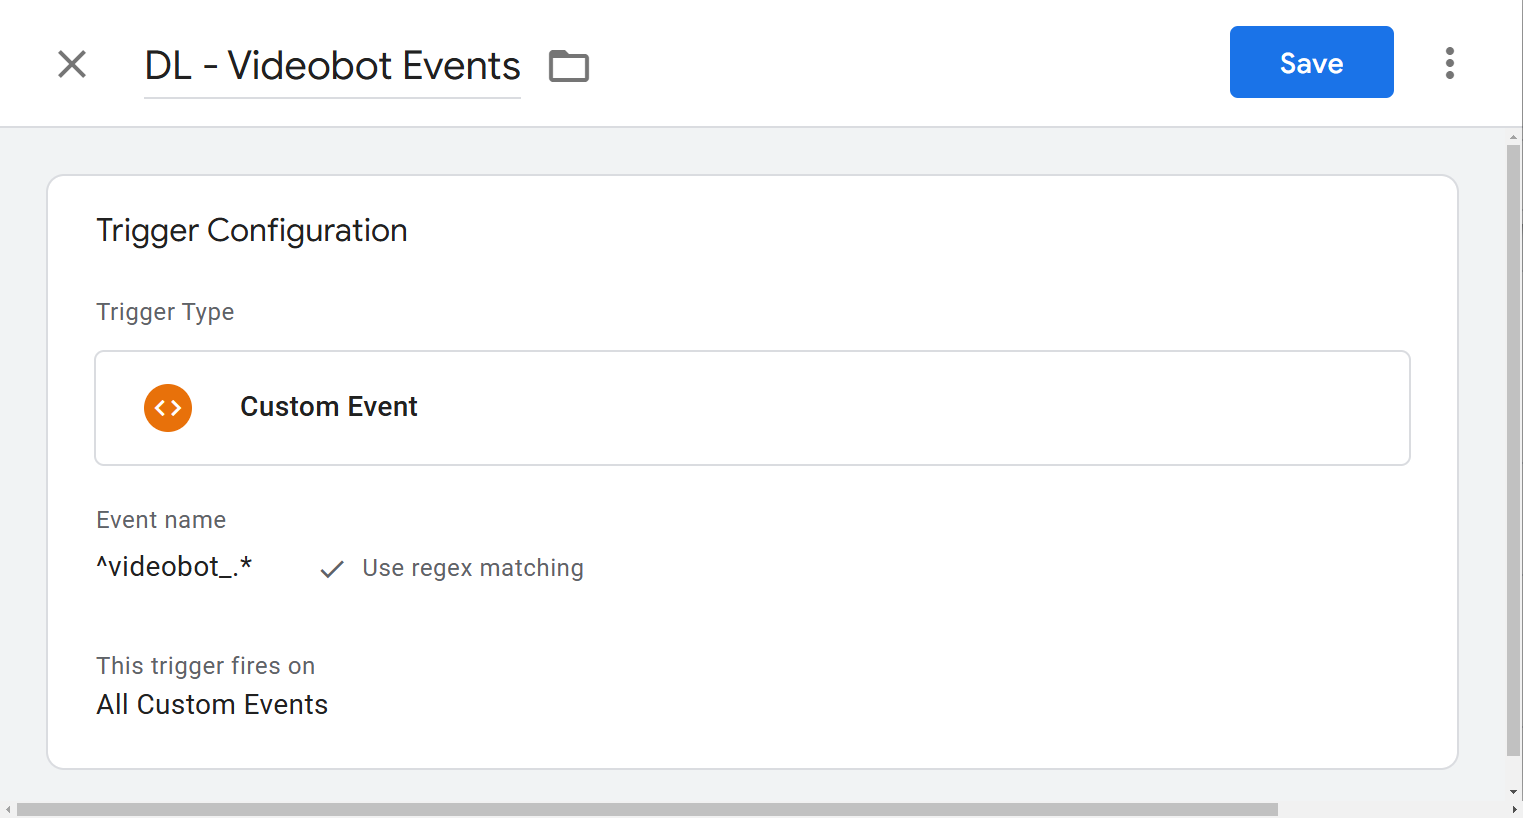
Step 4: Add the Videobot Trigger
- Create a new trigger with the following configuration:
- Trigger Name: DL - Videobot Events
- Folder: Videobot
- Trigger Type: Custom Event
- Event Name:
^videobot_.*(This regex will capture all events that start with "videobot_") - Enable Regex Matching: Checked
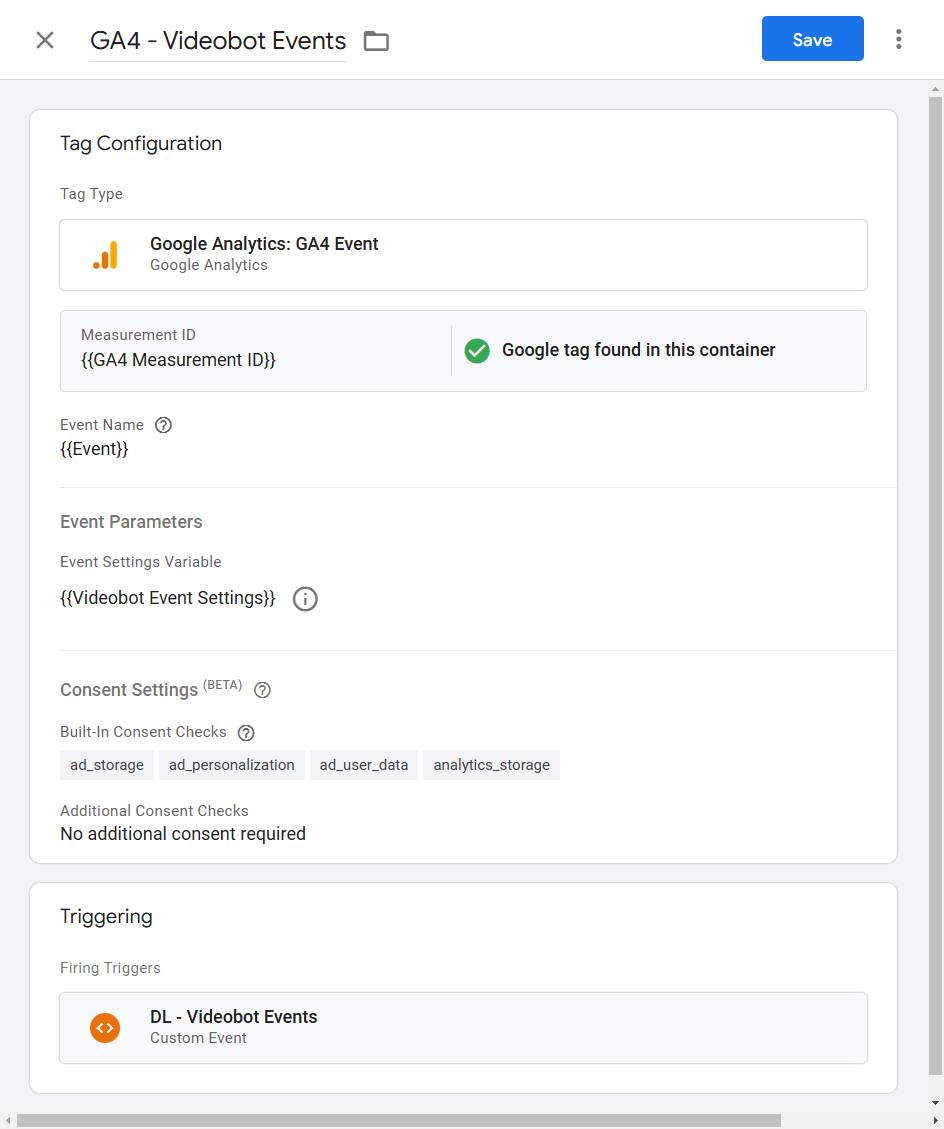
Step 5: Create the Analytics Event Tag
- Create a new tag with these details:
- Tag Name: GA4 - Videobot Events
- Tag Type: Google Analytics: GA4 Event
- Measurement ID: (Fill in your GA4 Measurement ID)
- Trigger: DL - Videobot Events
- Tag Firing Options: Once per event
- Set the Event Name:
{{Event}}Note: If the built-in variable
Eventdoes not exist, enable it in GTM.
Step 6: Preview and Test
- Use GTM's Preview mode to ensure that:
- The dataLayer events are correctly captured
- Tags fire as expected
- Data flows to your GA4 property
Step 7: Add Custom Dimensions and Metrics in GA4
- Log in to your GA4 property.
- Navigate to:
Custom Definitions - Add the necessary custom dimensions and metrics that correspond to the Videobot dataLayer variables.
Setting up Google Analytics
Your GTM setup is now complete and you should be receiving events in GA4. See our next guide to see how to configure segments.